Roy Underhill is the father of so much that is good in our hobby/lifestyle, but one of the nicest things he's cranked out recently is a design for a really fine, traditional "joiner's tool chest" designed to be built with commercially available stock.
Popular Woodworking published an article on it. He built it on his show and
those videos are available free online. In addition, if you're a user of Google Sketchup (and if you aren't, you're really missing out on this amazing free program), then detailed plans for it are available online. It is also illustrated and described in one of his books, I believe the most recent one, but I haven't bought it yet so can't say for sure.
Had I thought about it, I would have liked to resize it slightly longer so that it'll hold my 30" long jointer plane, but this gives me an excuse to look for another slightly shorter jointer, something I think it's obvious I badly need... (rolls eyes) but I like the sobriety imposed on you by a not-limitless capacity. Do you really need all those planes? How many saws do you really need? It goes along with my self imposed ban on tool collecting - I buy what I need, and I use what I buy. People that have 6 different awls and a dozen back saws, or a thick roll of bench chisels graduated in 1/8" widths make me...well jealous, of course, but also slightly nervous.

The lid is a true floating panel lid which means a long groove must be cut in the end grain of the panel to ride in the grooves on the sides. This is my tired, wonky old plough plane, but it gets the job done, mostly. This dry oak was not easy to plough. The end grain groove I actually rip cut - the plane just couldn't cut end grain oak.
I started making mine out of some of the large stockpile of oak lumber I had sawn up. I had several 12" wide boards and picked out a good one that would make all four sides, but remember this chest is designed to use commercially available lumber. You can go to Home Depot and get oak or poplar 11 1/4" boards that are 3/4" thick, and that's what this chest is designed to be made from. The bottom of the chest involves a really ingenious skirt board arrangement that adds functional height to the chest, making it more than 11 1/2" deep, adds significant strength, and looks uber traditional and beautiful. It' a great design.

This is a hard project, don't let Roy's cheerful manner fool you. The lid is a real challenge, requiring a lot of care with ripping and mortising the corners. The dovetaling around that skirt is a real logic puzzle. Hint: plough out the grooves first, then dovetail it together. And do this after the sides are completely finished. Measure from your chest, not from drawings or plans, for a proper fit.
Another hint: when making the lid, make the frame first, and assemble (temporarily) and square it up, then measure for the internal floating panel. I did it the other way around, and now my panel is a little too small to use, even though I tried very hard to cut things precisely. Things happen - cut yourself some slack, literally.
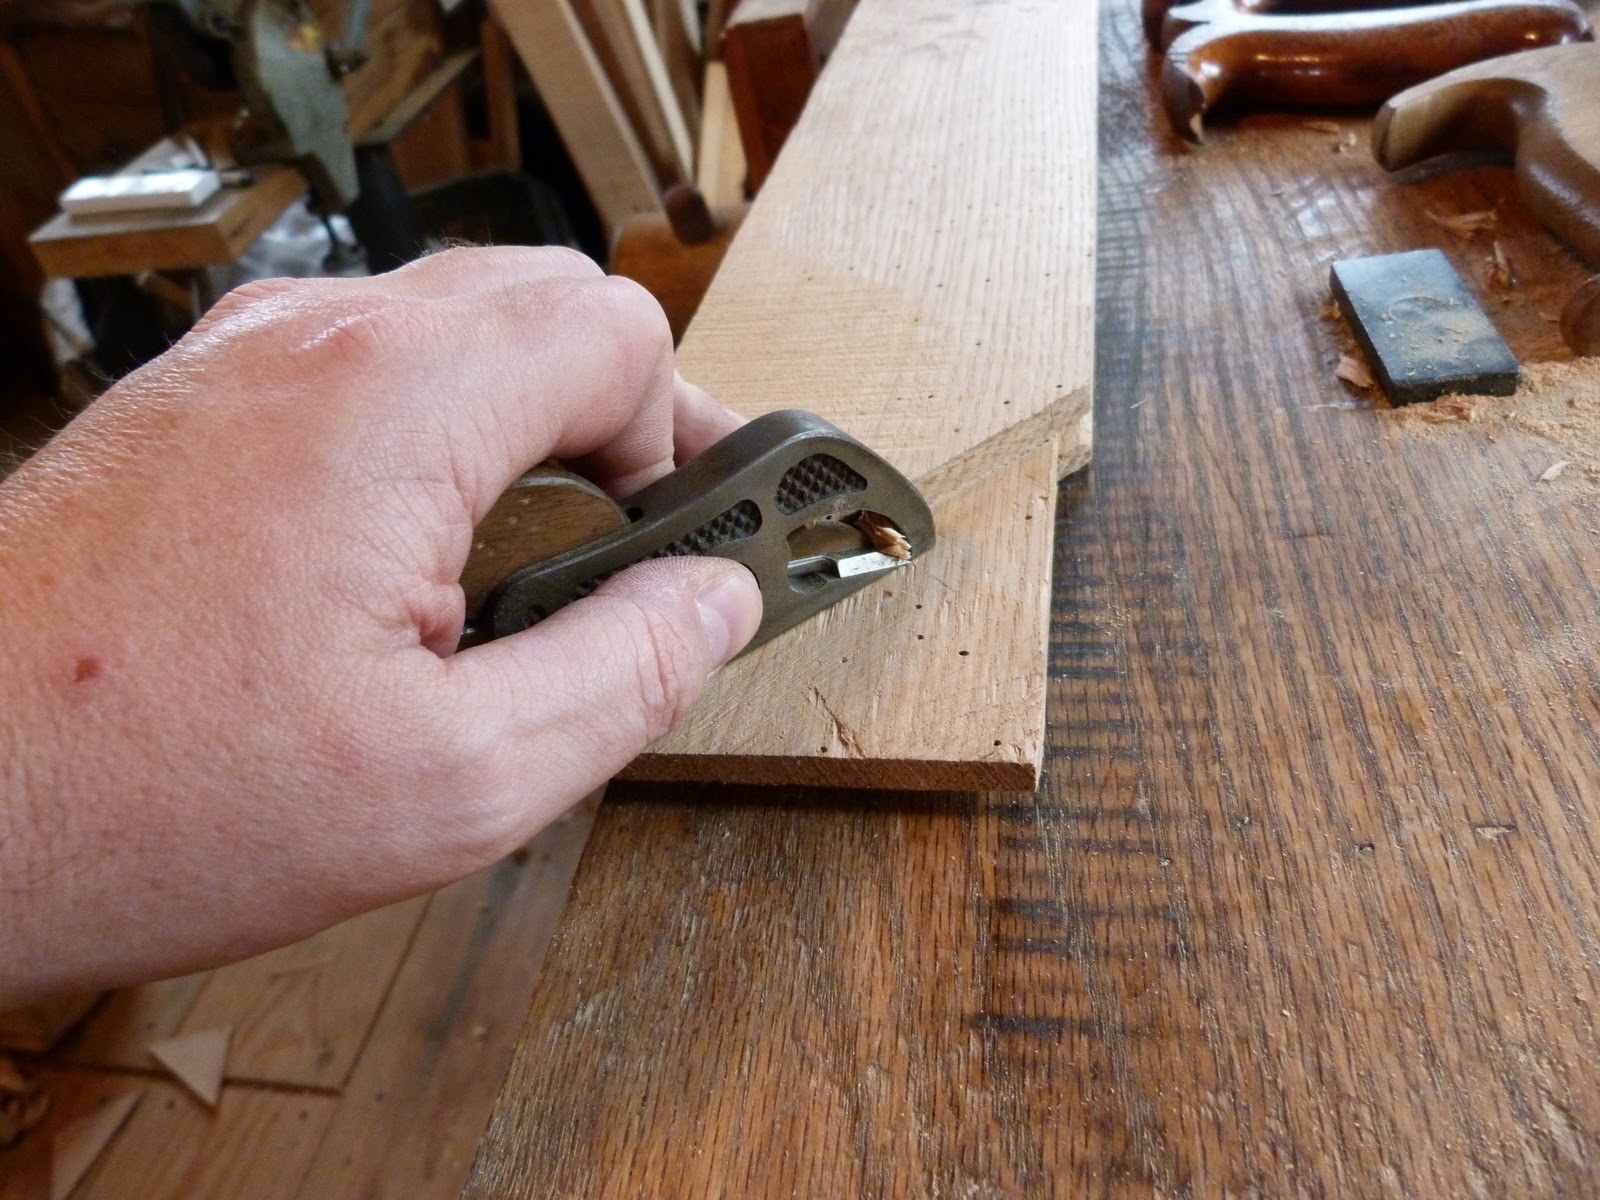
The small Clifton iron plane is really handy for dressing up these thin tenons.
Other than cutting out all the pieces and routing all the grooves on the skirt, this is as far as I've gotten now. I need to recut the top panel and square up and finish assemble the top. Next I'll dovetail the sides and skirt and will post photos of that process as I get into it.
I encourage you to try this project. Unlike some of Roy's wonderful projects, this one has been exhaustively documented and published. (Try finding good building plans for his treadle lathe...) You can get good clear poplar from HD or Lowe's and you'll be rewarded with a super tool chest in a good useable size.
Peter Ross will make hinges for you.